Last Spring I bought a cute cabinet from a thrift store for just 5$. It was nearly perfect. In my apartment, the front door opens right up to the kitchen. And after a few years in Japan, the habit of taking off one's shoes when entering the house became ingrained. I had bought a wire mesh system to put away shoes/hold slippers for guests as a temporary fix. But I had long been on the look out for a cute cabinet/storage system.
 The cabinet I bought was painted that weird institutional blue green and I'm fairly certain had held corrosive liquids in someone's garage for some time. But, I saw potential!

Here is the cabinet in it's original shape. In the jar are the hardware pieces that were quite a challenge to get off due to someone painting over them for years. I filled the jar with paint thinner and let the chrome soak while I worked. A little steel wool and some scrubbing and the chrome was shiny and new!
First step. Borrow a power sander. I then sanded down the outside, hitting any rough paint spots, cracks, and corners. I also took wood filler and filled any gaps, holes and cracks. Then I sanded down the filler when it was dry. Once done with the outside, I moved to the inside and simply sanded off the crud that was stuck to the paint. I highly recommend wearing a breathing mask for this and some safety glasses.
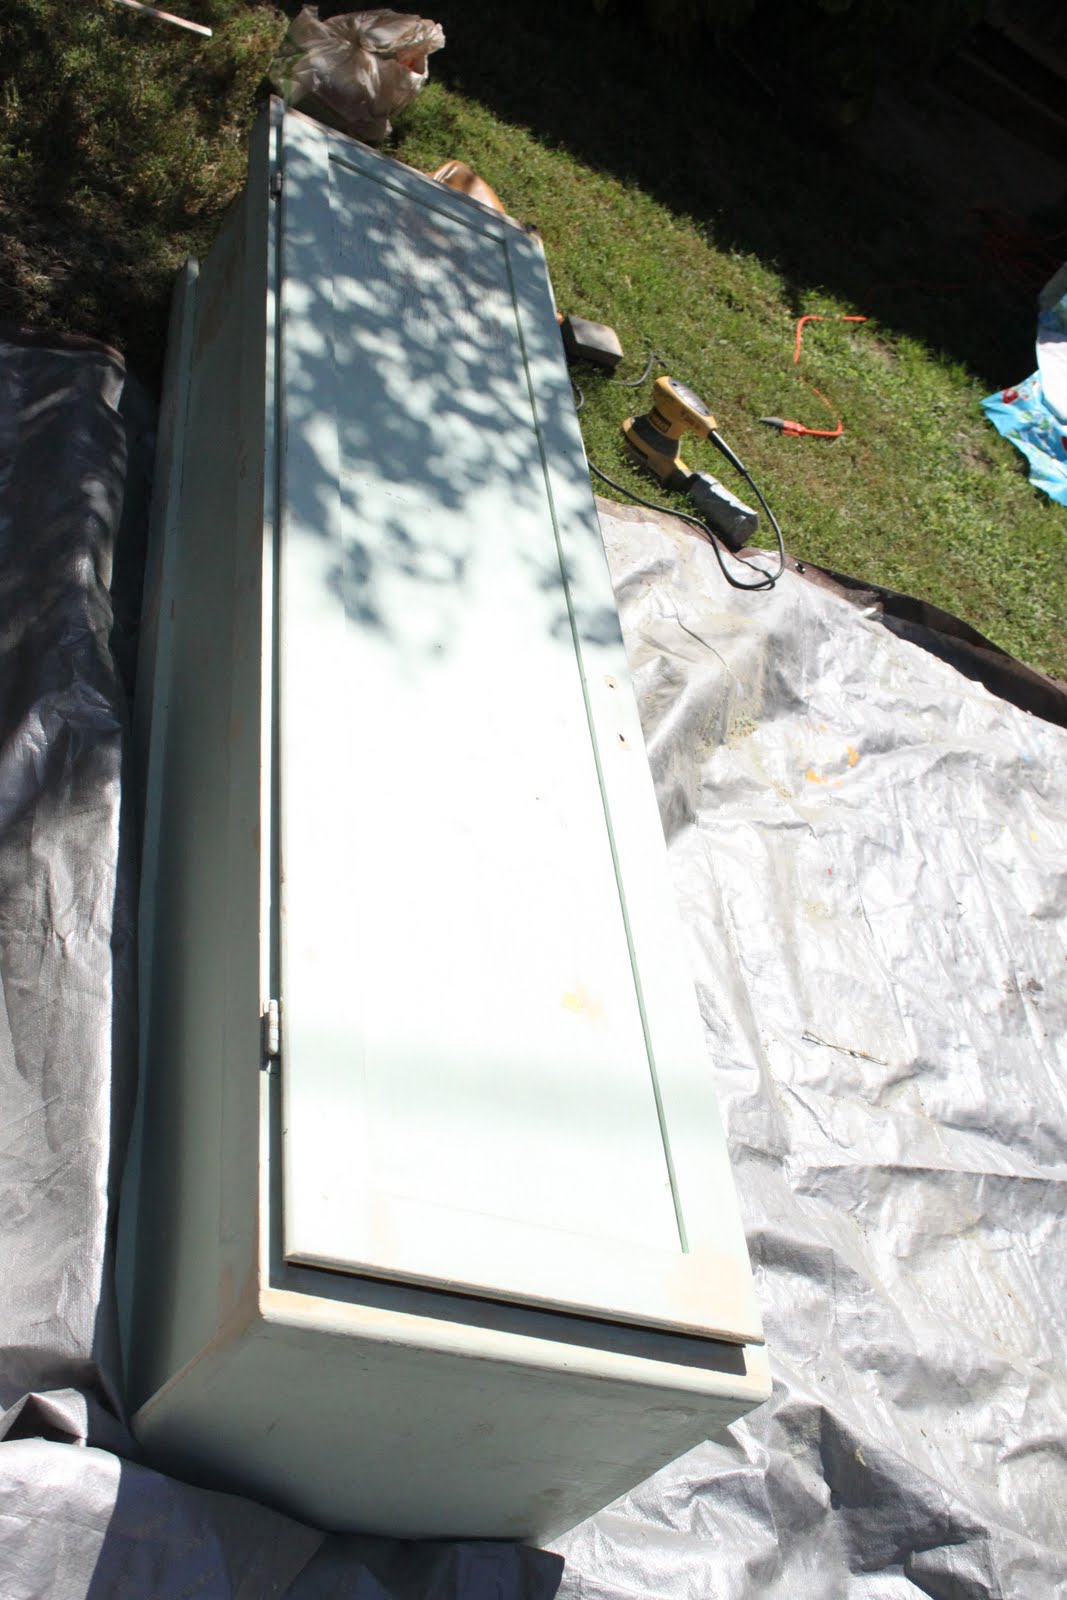
The point of the sanding is to get a smooth surface while at the same time giving the old paint a rough up so that the primer will stick better. Next step? Primer. I went ahead and bought Behr's two in one paint. I knew that I wanted to paint the inside white, so I bought a white with a primer built in. I painted the entire outside of the cabinet with the primered white.
Once the primer had dried
 in the sun for an hour or so (lunch break!), I went ahead and slapped down the first coat of the orange paint. Now, in my mind, this would be a sweet Creamsicle looking cabinet in the kitchen. I fell victim to inappropriate color choice though. I should have known when the paint guy looked at me and said, that is a wild color! Wild doesn't describe Creamsicle. Instead I ended up with something that looked much more like a safety cone orange.
Well, I'd forgotten sun screen and had a pedicure to get to, so the re paint would have to wait until another day.
Day Two:
With new and friend approved paint in hand (pumpkin spice!!!) I set out to make the cabinet the cute home accessory I knew it could be.
I wound up using three coats of the Pumpkin Spice paint to cover up the one coat of so called Tangerine Dream. I also painted the inside with three coats of the white high gloss (for easy wiping). I used painters tape to tape off edges and to get the front of the shelves a cute orange while the inside of the cubbies remained white.
With the hardware scrubbed down and paint removed (except the hinges, which I could not get off for the life of me), it was time to move the cabinet back inside. I put it all back together and put away a few shoes, the slippers I reserve for guests and one cubby as a sort of catch all (gym bag, etc). I put cafe curtain clips on the towel rack on the side to hold my aprons. That's my cute bread box on the top, which now doesn't need to take up space on my kitchen table. Elf Manor sure is cute, but it truly is lacking in counter space!

I couldn't believe how streamlined and clean my kitchen looked from just this one change! It was a couple of days of work and cost far more in paint than it did for the cabinet, but I love what it has done for my house.
cabinet - 5$
Orange paint - 20$ (had to buy two colors, oops!)
White paint - 10$
Brushes -6$
Total cost: 41$
While I was out in the yard earning a serious tan, I thought I'd tackle another project or two.

I had bought this plant stand at an estate sale for 5$. It was rusty and gross. I sanded it down by hand to remove some rust, hit it with spray primer and a coat or two of Green Apple. Once I was done, again, it wasn't quite the right shade. It wasn't awful, just not quite right. A little bit back Ace was running a sale on spray paint that made it nearly two for one. I picked up a color that was a shade darker than the original. Much happier with it now. The plant stand is now less neon and more 60's avocado green. Perfect for my palate.
Using the same green, I
 decided to paint a small tray I'd picked up for .50 at a thrift store. I had left it outside with some plants on it and it had rusted straight through in just a few days. Again, I sanded it down, then I taped it off. I painted the inside white with the white from the cabinet and painted the edge the same color spray paint as the plant stand. Between my favorite outdoor chair and my living art, it makes quite a cute little reading nook. The living art has not filled in with plants yet.

While I was in super cleaning mode, I went ahead and did a little project I'd read about on Pinterest. Using an old tension rod to hang your spray cleaners. 3$ and a cinch to install.

 Tucker and Indien got baths/clean beds and homes too! Not bad for a couple days work.
Next up in the great purge of 2011 - the closet.
No comments:
Post a Comment